
Setting up a new printer used to mean digging through a box of CDs, typing in driver file names by hand, and hoping the thing actually talked to your computer. Brother has made this a lot less painful, but the process still trips people up usually because they skip the driver install and try to rely on Windows or macOS to figure it out alone, or because their printer and computer are quietly sitting on two different Wi-Fi networks.
This guide walks through exactly how to add a Brother printer to a computer, covering USB and wireless setups on both Windows and Mac, plus what to do when the printer refuses to show up. If you’ve just unboxed a Brother DCP, MFC, or HL series printer, or you’re adding one to a computer that’s never seen it before, you can follow this from start to finish.
Quick Answer: The Fastest Way to Add a Brother Printer
If you want the short version before diving into details:
- Turn on your Brother printer and connect it to the same Wi-Fi network as your computer (or plug in a USB cable).
- Go to support.brother.com, enter your exact printer model, and download the Full Driver & Software Package for your operating system.
- Run the installer and choose a wireless or USB connection when prompted.
- Let the software find your printer, finish the wizard, and print a test page.
That’s the process in a nutshell. The rest of this guide covers each step in detail, plus troubleshooting for the situations where it doesn’t go this smoothly.
Before You Start: What You’ll Need
A little prep now saves a lot of frustration later. Have these ready:
- Your Brother printer’s exact model number (found on a label on the front or top of the machine, like “MFC-L2750DW” or “HL-L2395DW”)
- Your Wi-Fi network name and password, if you’re setting up a wireless connection
- A USB cable, if you’re connecting directly instead of over Wi-Fi
- A few minutes of uninterrupted time most installs take 5 to 10 minutes
One thing worth knowing upfront: Brother printers and computers need to be on the same network to find each other wirelessly. If your laptop is connected to a 5GHz “Home_Guest” network and the printer only supports 2.4GHz and joined “Home,” they’ll never see each other, no matter how many times you restart the installer. This single mismatch is behind a huge share of “my printer won’t connect” complaints, so it’s worth checking network names on both devices before you do anything else.
Method 1: Add a Brother Printer on Windows (Wireless)
This is the setup most home and small-office users will use, since almost every current Brother inkjet and laser model supports Wi-Fi.
Step 1: Connect the printer to Wi-Fi
On the printer’s control panel:
- Press the Menu or Settings button (icon varies slightly by model).
- Navigate to Network > WLAN > Setup Wizard.
- Select your Wi-Fi network name from the list and enter the password.
- Wait for the printer to confirm a successful connection most models show a signal strength icon or a confirmation message once connected.
Some newer touchscreen Brother models simplify this further with a Wi-Fi Direct or Wireless Setup Wizard shortcut right on the home screen.
Step 2: Download the driver from Brother’s website
Skip the driver CD if one came in the box it’s often outdated. Instead:
- Go to support.brother.com in your browser.
- Type in your printer’s model number and select it from the results.
- Choose your operating system version (for example, Windows 11, 64-bit).
- Under Downloads, select the Full Driver & Software Package, not just the “driver only” option. The full package includes the print driver, scanner driver, and Brother iPrint&Scan desktop app in one installer, which saves you from repeating this process later just to scan a document.<cite index=”1-1″>Brother iPrint&Scan for PC provides access to printing, scanning, and workflow functionality</cite>, so grabbing it now is worth the extra minute.
Step 3: Run the installer
- Open the downloaded .exe file and click Run if Windows asks for permission.
- Accept the license agreement.
- When prompted for connection type, choose Wireless Network Connection.
- The installer will search for Brother printers on your network. Select yours from the list if multiple Brother machines appear, match it using the IP address or model number shown on the printer’s own network settings screen.
- Let the wizard finish installing the print driver, scan driver, and any bundled utilities.
- Print a test page when prompted to confirm everything’s working.
Step 4: Confirm it shows up in Windows
Once installed, double-check the printer is recognized system-wide:
- Open Settings > Bluetooth & devices > Printers & scanners.
- Confirm your Brother model appears in the list.
- Click on it, then Set as default if you want it to be your primary printer.
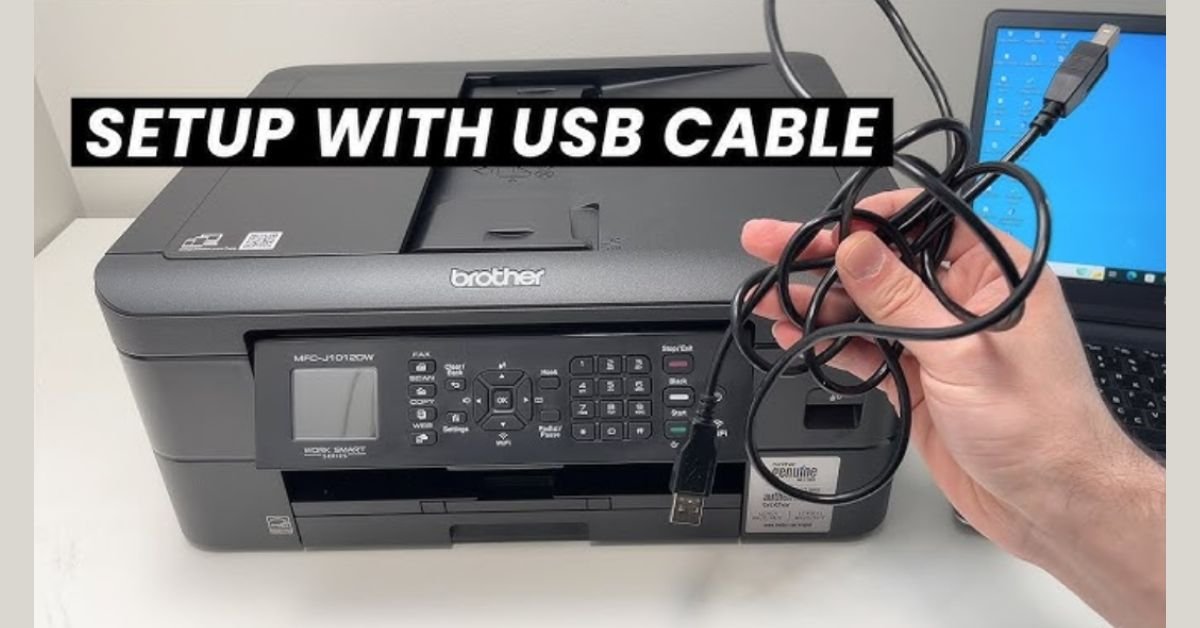
Method 2: Add a Brother Printer on Windows (USB)
If you’d rather skip Wi-Fi entirely, a direct USB connection is simpler and more reliable, especially for a printer that will always sit next to one computer.
- Don’t plug in the USB cable yet Brother’s installer prompts you to connect it at the right moment, and plugging in too early can cause Windows to install a generic driver instead of the full Brother one.
- Download and run the same Full Driver & Software Package from support.brother.com as described above.
- When asked for connection type, choose USB Cable Connection.
- Connect the USB cable from the printer to your computer when the installer tells you to.
- Windows will detect the device and finish installing drivers automatically.
- Print a test page to confirm.
Method 3: Add a Brother Printer on Mac (Wireless)
Mac setup follows a similar logic but uses macOS’s own printer menu alongside Brother’s software.
- Connect the printer to your Wi-Fi network using the same control-panel steps as above (Menu > Network > WLAN > Setup Wizard).
- On your Mac, go to support.brother.com, search your model, and download the macOS version of the Full Driver & Software Package (or Brother iPrint&Scan directly from the Mac App Store, which several current models support).
- Open the downloaded package and follow the installer prompts.
- Once installed, go to System Settings > Printers & Scanners.
- Click the + button, wait for your Brother printer to appear under “Nearby Printers,” and select it.
- Confirm the correct driver is selected (macOS usually auto-selects the AirPrint or Brother driver) and click Add.
Many current Brother models also support AirPrint out of the box, meaning a Mac can print to them without installing any software at all you just add the printer through System Settings using its Bonjour or network name. This is convenient for basic printing, but you’ll still want the full Brother software installed if you plan to scan documents or check ink levels from your Mac.
Method 4: Add a Brother Printer on Mac (USB)
- Download and run the Full Driver & Software Package for macOS from support.brother.com.
- Choose USB when the installer asks for connection type.
- Connect the USB cable when prompted.
- Go to System Settings > Printers & Scanners, click +, and select your Brother printer once it appears.
- Print a test page to verify the connection.
Comparison: Wireless vs. USB Setup
| Factor | Wireless (Wi-Fi) | USB Cable |
|---|---|---|
| Setup difficulty | Slightly more steps (network setup on printer) | Simpler, fewer failure points |
| Flexibility | Print from any device on the network | Tied to one computer |
| Speed | Fast enough for most home/office use | Marginally faster for large files |
| Best for | Households, shared office printers | Single desktop setups, unstable Wi-Fi |
| Common issues | Network mismatches, router settings | Cable length, port availability |
Using Brother iPrint&Scan Once It’s Installed
After setup, most people forget the Brother iPrint&Scan desktop app is even there but it’s worth opening at least once. <cite index=”6-1″>It lets you check your ink and toner levels, change printer settings, print files stored in Dropbox, OneDrive, or Evernote directly, and send scans straight to email or cloud storage.</cite> If you’re managing a printer for a small office, this app is genuinely more convenient than digging through Windows’ built-in print queue every time something needs adjusting.
Troubleshooting: When Your Brother Printer Won’t Add
Even a straightforward setup occasionally goes sideways. Here’s a practical checklist for the most common sticking points.
- Printer not found during wireless setup Confirm the printer and computer are on the exact same Wi-Fi network (not a guest network, and not a 5GHz-only network if your printer only supports 2.4GHz). Restart the printer and router if needed.
- Installer freezes or times out Temporarily disable VPN software and check that your firewall isn’t blocking the Brother installer; corporate or heavily locked-down firewalls are a frequent culprit.
- Printer shows as offline in Windows Go to Printers & Scanners, click the printer, select Open print queue, and make sure “Use Printer Offline” is unchecked.
- USB cable connected but nothing happens Try a different USB port (avoid hubs), and confirm the cable itself supports data transfer, not just charging.
- Multiple Brother printers with the same model name Use the printer’s IP address (found under Menu > Network > WLAN > TCP/IP on the control panel) to tell them apart during setup.
- Driver installed but scanning doesn’t work Make sure you installed the Full Driver & Software Package, not just the basic print driver; scanning requires its own driver component bundled in the full package.
If none of this resolves it, Brother’s support site lets you search by exact model number for model-specific troubleshooting, which is more reliable than generic advice since setup screens vary between the MFC, DCP, and HL product lines.
A Real-World Example
Say you just bought a Brother MFC-L2750DW for a home office. Out of the box, it’s not connected to anything. You’d press through the printer’s touchscreen to join your home Wi-Fi network, then head to support.brother.com on your laptop, type in “MFC-L2750DW,” and download the Windows Full Driver & Software Package. Running that installer, you’d pick “Wireless Network Connection,” watch it locate the printer automatically since both devices are now on the same network, and finish by printing a test page. From that point on, every device on your home network laptop, desktop, even a phone with the Brother Mobile Connect app can print to it without repeating the setup.
Frequently Asked Questions
Do I need to install software, or can Windows/Mac detect my Brother printer automatically? Both Windows and macOS can often detect a Brother printer automatically and install a basic driver, especially over USB or AirPrint. However, installing Brother’s Full Driver & Software Package is still recommended because it unlocks scanning, ink-level monitoring, and other features that generic plug-and-play drivers don’t include.
Why isn’t my Brother printer showing up during wireless setup?
The most common cause is a network mismatch the printer and computer are on different Wi-Fi networks or bands. Double-check both are connected to the same network name, and that your printer’s Wi-Fi setup actually completed successfully on its control panel.
Can I add a Brother printer without a CD?
Yes. The installation CDs that ship with Brother printers are frequently outdated, and Brother explicitly recommends downloading the latest driver package from support.brother.com instead, using your model number.
How do I find my Brother printer’s model number?
It’s printed on a label on the front, top, or back of the machine, usually near the control panel or on a sticker inside the front cover.
Does my Brother printer need Wi-Fi to work with my computer?
No. If your printer supports USB, you can connect it directly to your computer with a cable and skip wireless setup entirely, though you’ll lose the ability to print from other devices on the network.
What’s the difference between Brother iPrint&Scan and the regular print driver?
The print driver is what lets your computer send print jobs to the printer. Brother iPrint&Scan is a separate desktop app that adds extra functionality on top scanning workflows, ink-level checks, cloud printing, and printer settings management and is included in the Full Driver & Software Package.
Can I connect a Brother printer to more than one computer?
Yes. If it’s connected over Wi-Fi, any computer on the same network can install the driver and add the printer independently. If it’s USB-connected, it’s limited to the one computer it’s physically plugged into, unless you enable printer sharing in Windows or macOS.
Final Thoughts
Adding a Brother printer to a computer isn’t complicated once you know the two things that matter most: download the Full Driver & Software Package directly from support.brother.com instead of relying on an old CD, and make sure the printer and computer are on the same network before you start a wireless setup. Follow the steps for your operating system and connection type, run a test print at the end, and you’re set up for good. If something doesn’t connect on the first try, it’s almost always the network mismatch or an outdated driver both fixable in a couple of minutes once you know where to look.
READ MORE: How Often Should Bixiros.5a8 Software Be Updated? (Guide)
