
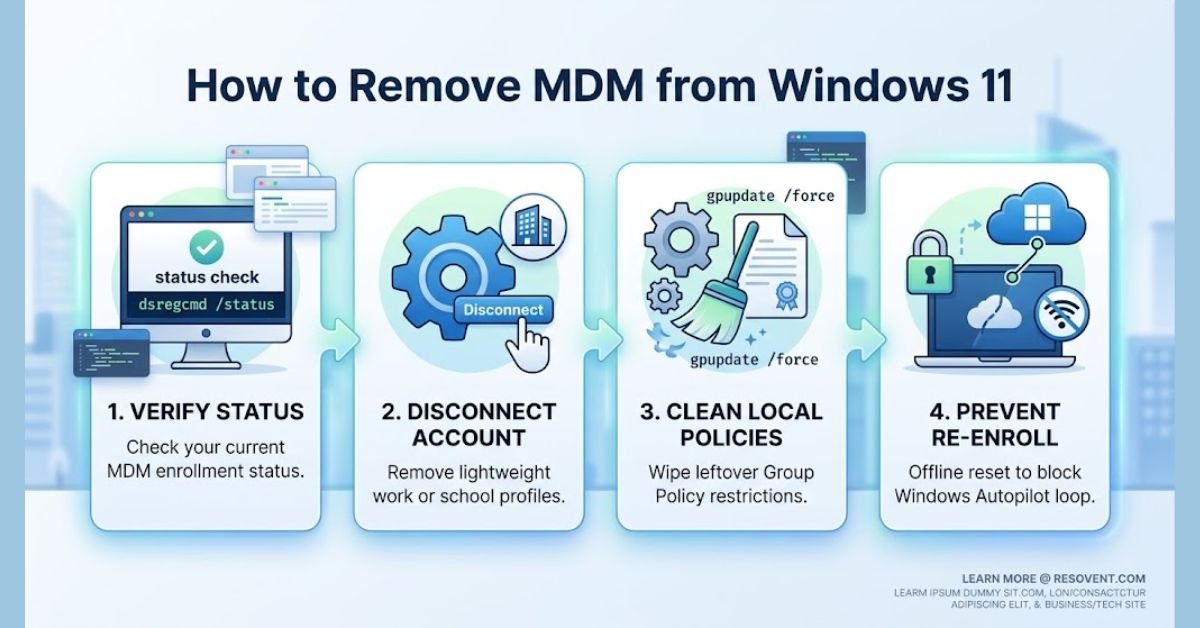
Getting the “Some settings are managed by your organization” error on a personal Windows 11 laptop is frustrating. Whether you bought a refurbished device, finished a university program, or left a former company, leftover Mobile Device Management (MDM) profiles can lock you out of basic administrative tasks, Windows updates, and system settings.
This step-by-step guide walks you through verifying your enrollment status and safely removing MDM from Windows 11 without breaking system stability or violating policy compliance.
What is Windows 11 MDM and Why Does It Stay Locked?
Organizations use MDM platforms such as Microsoft Intune, Azure Active Directory, or Workspace ONE—to push compliance policies, deploy software, and restrict settings on internal machines.
When ownership of a laptop changes hands, the system often remains locked due to three background triggers:
- Windows Autopilot Profile: The device hardware hash stays registered in the former organization’s cloud tenant.
- Azure AD Account Persistence: Unremoved enterprise accounts continuously reapply management policies whenever connected to the internet.
- Hidden Provisioning Packages (.ppkg): Local enterprise deployment files trigger policy background tasks even after a standard system reset.
Policy Compliance Check: When Is MDM Removal Permitted?
Before attempting any removal procedure, confirm that your system meets legal and legitimate offboarding conditions.
| Permitted Scenarios | Prohibited Scenarios |
| You legally own the hardware (purchased second-hand or officially gifted). | The laptop is actively owned or leased by a company. |
| The organization officially released the device from their asset database. | You are attempting to bypass corporate security on a active work laptop. |
| Leftover profiles prevent basic personal use on a non-work system. | The machine is currently governed by active compliance or legal holds. |
Step 1: Verify Your Windows 11 MDM Enrollment Status
Before modifying system registries or settings, run a quick status check to see how deeply the device is managed.
- Press
Win + Xand launch Command Prompt as Administrator. - Type the following command and press Enter:DOS
dsregcmd /status - Scroll through the output and check these specific fields:
- AzureAdJoined: Displays
YESif linked to an organizational directory. - EnterpriseJoined: Indicates active workplace domain connections.
- WamDefaultSet: Confirms whether enterprise credentials dominate cloud authentication.
- AzureAdJoined: Displays
Alternatively, open Settings $\rightarrow$ Accounts $\rightarrow$ Access work or school. Any active company or school email listed here confirms an active MDM link.
Step 2: Remove MDM via Windows 11 Settings (Built-in Method)
If your device was registered using lightweight enrollment, removing it through native settings takes less than two minutes.
- Open Settings (
Win + I) and select Accounts. - Click on Access work or school.
- Click on the listed organizational account to expand its details.
- Click the Disconnect button.
- Follow the on-screen confirmation prompts and restart your PC.
Step 3: Unenroll via Microsoft Company Portal App
If the former organization managed the PC through Microsoft Intune:
- Launch the Company Portal app from the Start Menu.
- Select Devices from the left navigation bar.
- Choose your current PC from the listed assets.
- Click Remove (or the trash icon) and confirm unenrollment.
- Restart the device to let local policy updates process.
Step 4: Clear Leftover Group Policies and Reset WMI States
Even after disconnect, local policy restrictions often persist. Use these commands to wipe leftover enterprise restrictions.
Method A: Reset Local Group Policy Stores
Open Command Prompt as Administrator and execute:
DOS
RD /S /Q "C:\Windows\System32\GroupPolicy"
RD /S /Q "C:\Windows\System32\GroupPolicyUsers"
gpupdate /force
Method B: Unregister WMI MDM Classes (Advanced)
If an old provider remains stuck in Windows Management Instrumentation (WMI), execute this command in PowerShell (Admin):
PowerShell
Get-WmiObject -Namespace root\cimv2\mdm\dmmap -Class MDM_Enrollment | Remove-WmiObject
Important: Only run PowerShell WMI modifications on devices you personally own after initiating official unenrollment.
Step 5: Perform an Offline Clean Reset (Prevent Autopilot Loop)
If you factory reset a device while connected to Wi-Fi, Windows Autopilot automatically fetches cloud profiles and locks the machine back into MDM setup.
To execute a clean, permanent reset:
- Disconnect all Wi-Fi and Ethernet connections.
- Navigate to Settings $\rightarrow$ System $\rightarrow$ Recovery.
- Click Reset PC and select Remove everything.
- Choose Local reinstall (do NOT choose Cloud Download).
- Complete setup offline without connecting to the internet until you reach the local desktop screen.
Frequently Asked Questions
Does a factory reset remove Windows 11 MDM permanently?
Not automatically. If the hardware hash is registered in Microsoft Autopilot, internet connectivity during setup pulls the profile back down. Always complete setup offline.
Is it legal to use MDM removal tools on a Windows 11 PC?
Yes, provided you are the legal owner of the device and it has been officially decommissioned by the former organization.
Why are settings still greyed out after disconnecting work accounts?
Group Policy registry keys often stay cached. Running gpupdate /force or clearing the GroupPolicy system folders cleans up these lingering UI restrictions.
