
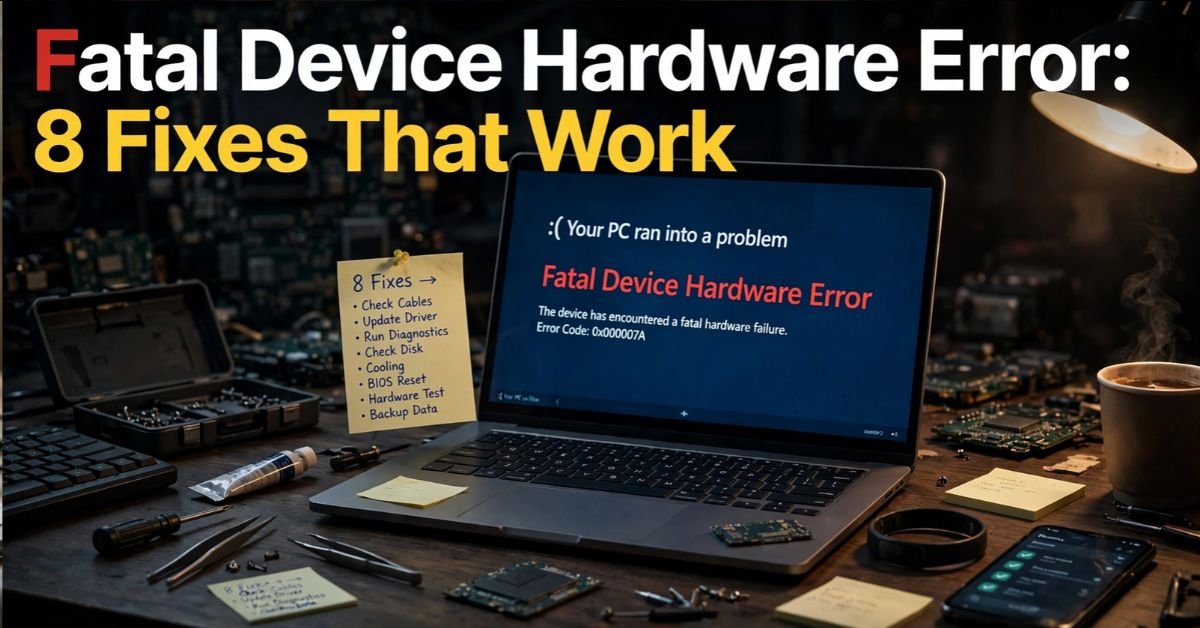
You plug in an external drive, run a disk check, or try to copy a file, and Windows stops you cold. The message reads either “The request could not be performed because of an I/O device error” or, more bluntly, “A fatal device hardware error has occurred.”
It sounds like your drive has died. Sometimes it has. Plenty of times, though, the culprit is a worn-out cable or a cranky USB port. This guide explains what the error actually means, how to tell a cheap fix from a real hardware failure, and what to do next in each case.
What the Error Actually Means
Windows sent a command to a storage device, and the device either didn’t answer or answered wrongly. Since the read or write couldn’t finish, Windows gave up and showed you this message.
You’ll mostly run into it with:
- External USB hard drives and SSDs
- USB flash drives
- SD and microSD cards
- Secondary internal drives
- CD/DVD drives and other optical media
It often turns up alongside codes like 0x8007045D (I/O device error) or 0x800701E3. People also see it while running CHKDSK, opening Disk Management, formatting a drive, or starting a backup.
The word “hardware” in the message is misleading. The cause could be a cable, a port, a driver, a damaged file system, or the drive itself. Treat the error as a symptom and work out the cause before you decide anything.
Why It Happens
Here are the usual suspects, roughly from most to least common. Start at the top, because the cheap causes are also the likeliest.
| Cause | How common | Fixable at home? | What you’ll notice |
| Loose or damaged USB cable | Very common | Yes | Drive connects, then drops off |
| Faulty USB port or hub | Common | Yes | Works on another port or PC |
| Outdated or corrupted driver | Common | Yes | Warning icon in Device Manager |
| File system corruption | Common | Usually | Drive shows as RAW or asks to be formatted |
| Not enough power (bus-powered drives) | Moderate | Yes | Drive spins up, then disconnects |
| Bad sectors | Moderate | Partly | Freezing, slow reads, CHKDSK errors |
| Failing controller or read/write head | Less common | Rarely | Clicking, grinding, or no detection at all |
| Physical damage or worn-out flash memory | Less common | No | Drive missing on every computer |
Before You Fix Anything, Protect Your Files
Stop writing to the drive. Every write attempt on a struggling device can make recovery harder.
Hold off on formatting, too, and be careful with CHKDSK’s repair switches, because they can change a damaged file system. If the files are irreplaceable, skip ahead to the recovery section and come back here afterward.
Step-by-Step Fixes
Work through these in order. Each step rules out one cause, and the early ones cost you nothing.
Step 1: Check the Cable, Port, and Power
This one step solves more cases than any software tool, so don’t skip it.
- Swap in a different USB cable, preferably a short, good-quality one.
- Plug directly into a rear motherboard port on a desktop. Front-panel ports and hubs are less reliable.
- If the drive struggles on USB 3.x, try a USB 2.0 port.
- For a bus-powered external HDD, use a Y-cable or a powered hub. A single port may not supply enough current.
- Test the drive on a second computer.
If it works elsewhere, the trouble lies with your PC’s port, driver, or settings. If it fails everywhere, the drive is the likely problem.
Step 2: See Whether Windows Detects the Drive
Press Win + X and open Disk Management. Find your drive and read its status.
- Healthy, but no drive letter: Right-click the partition, choose Change Drive Letter and Paths, and assign one.
- RAW or Unallocated: The file system is damaged or missing. Don’t format yet.
- Not listed, or “No Media”: Windows isn’t talking to the device at all. Go back to Step 1, then check drivers.
- Offline: Right-click the disk label and choose Online.
Step 3: Reinstall the Driver
- Press Win + X and open Device Manager.
- Expand Disk drives and Universal Serial Bus controllers.
- Right-click the affected device and choose Uninstall device.
- Unplug the drive, restart the PC, then reconnect it. Windows reinstalls the driver on its own.
If the problem started after an update, check Windows Update > Optional updates for driver updates, or roll the driver back from the device’s Properties > Driver tab. Our guide on how to update drivers automatically on Windows 11 covers each of these methods in more detail.
One more thing worth knowing: if the error began right after a Windows update and the drive is an SSD, our write-up on the Windows 11 update linked to SSD failures may explain it.
Step 4: Turn Off USB Selective Suspend
Windows sometimes cuts power to idle USB devices to save energy. Some drives handle that badly and drop out in the middle of a transfer.
- Open Control Panel > Power Options.
- Click Change plan settings, then Change advanced power settings.
- Expand USB settings > USB selective suspend setting.
- Set it to Disabled and apply.
This helps most on laptops, and on drives that disconnect during long copies.
Step 5: Run CHKDSK, Read-Only First
CHKDSK checks the file system and flags bad sectors. Start in read-only mode so you can see what it finds before it changes anything. Open Command Prompt as administrator and type:
chkdsk E:
Swap E: for your own drive letter. If it reports errors and you’re willing to risk the data, run:
chkdsk E: /f /r
The /f switch fixes file system errors. The /r switch hunts for bad sectors and tries to recover readable data, which can take hours on a large drive.
If CHKDSK throws the hardware error itself, or the scan crawls while the drive starts clicking, stop right there. That points to physical trouble, and heavy scanning can make it worse.
Step 6: Read the Drive’s SMART Data
SMART is the driver’s own health report. A free tool like CrystalDiskInfo shows it in seconds.
Pay attention to:
- Reallocated Sector Count above zero and climbing
- Current Pending Sector Count or Uncorrectable Sector Count above zero
- A health status of Caution or Bad
A few reallocated sectors that stay put on an old drive can be tolerable. A number that grows between checks means the drive is on its way out, so back up and plan a replacement.
Step 7: Scan System Files
Corrupted Windows files can occasionally interfere with how the OS talks to storage. In an elevated Command Prompt, run:
sfc /scannow
If SFC finds problems it can’t repair, follow up with:
DISM /Online /Cleanup-Image /RestoreHealth
This rarely cures a failing drive, but it takes OS-level causes off the list.
Step 8: Format, but Only After Recovery
If SMART looks healthy and the file system is the only problem, a format can bring the drive back. Make sure you’ve saved everything you need first.
- In Disk Management, right-click the partition and choose Format.
- Pick NTFS for Windows-only use, or exFAT if you share the drive with a Mac.
- Run a full format. Quick Format skips the check for bad sectors.
If a full format fails with the same error, the drive is almost certainly physically faulty.
Getting Your Files Back
If the data matters, recover first and repair second. You have three realistic routes.
Recovery software. Tools like Recuva, TestDisk, and PhotoRec can pull files off RAW or corrupted drives. Always save the recovered files to a different drive, never back onto the failing one.
Disk imaging. If the drive has bad sectors, make a sector-by-sector image first and recover from that. ddrescue is built for this job and is gentler on a failing disk than copying files over and over.
Professional recovery. If the drive clicks, grinds, beeps, or isn’t detected at all, power it off. Mechanical failures need a cleanroom lab, and costs commonly run from several hundred to a couple thousand dollars. Weigh that against what’s on the drive.
Fix It or Replace It?
| What you’re seeing | Best move |
| Works on another cable, port, or PC | Keep the drive and fix the original port or driver |
| RAW drive, healthy SMART data | Recover data, then reformat |
| Bad sector counts rising | Back up now and replace the drive |
| Clicking or grinding | Power off; professional recovery or replacement |
| SD card or USB stick with errors | Recover what you can, then replace it (flash memory wears out) |
| Not detected on any computer | Likely hardware failure; recovery lab or replacement |
How to Keep It From Happening Again
- Use Safely Remove Hardware instead of yanking the cable.
- Keep two backups. The 3-2-1 rule works well: three copies, on two types of media, with one stored offsite.
- Check SMART data monthly on any drive that holds files you care about.
- Skip cheap, unbranded flash media. Counterfeit capacity and weak memory chips fail often.
- Don’t hang several power-hungry drives off one USB hub.
- Keep drives cool and steady, since heat and vibration shorten the life of spinning disks.
- Replace aging drives before they replace themselves. A hard drive past five years of heavy use is a gamble.
Quick Troubleshooting Checklist
- [ ] Tried a different USB cable
- [ ] Tried another port (rear port, USB 2.0, no hub)
- [ ] Tested the drive on another PC
- [ ] Confirmed the drive shows up in Disk Management
- [ ] Reinstalled the driver in Device Manager
- [ ] Disabled USB selective suspend
- [ ] Checked SMART data
- [ ] Ran CHKDSK in read-only mode first
- [ ] Recovered important data before formatting
- [ ] Replaced the drive if SMART data or noises point to failure
The Bottom Line
A fatal device hardware error looks scary, but it doesn’t always mean your drive is finished. Begin with the cable, port, and power, then move to drivers, then the file system, and only then blame the hardware. Protect your data before any repair that writes to the disk.
If SMART data shows a failing drive, or you hear physical noise, stop troubleshooting and focus on getting your files off safely.
Frequently Asked Questions
How do I fix a fatal device hardware error?
Start with the basics: try a different USB cable, a different port (a rear port on a desktop works best), and a second computer. If the drive works elsewhere, reinstall its driver in Device Manager. If the error persists, check the drive’s SMART health and run CHKDSK in read-only mode before using any repair switches.
Can fatal errors be fixed?
Often, yes. When the cause is a cable, port, driver, or damaged file system, the error is fixable and your data usually survives. When the cause is a failing drive, with clicking noises, rising bad sectors, or no detection on any PC, the realistic goal is recovering your files and replacing the drive.
How to fix a hardware error?
Rule out the cheap causes first, in this order: cable, port, power supply, then drivers. After that, run a health check such as SMART or CHKDSK. If a component still fails on a second computer or with a different cable, it’s genuinely faulty and needs replacing.
How to fix a fatal error on an external hard drive?
Plug the drive directly into a rear USB port, using a Y-cable or powered hub if it’s bus-powered. Open Disk Management to see whether Windows detects it, then reinstall the driver and disable USB selective suspend. Copy off your important files before running chkdsk E: /f /r (swap in your own drive letter), because repairs can alter a damaged drive.
Can I fix a corrupted external hard drive?
Usually, if the damage is in the file system rather than the hardware. Recover your files first with software like Recuva or TestDisk, saving them to a different drive. Then run CHKDSK or do a full format in Disk Management. If the drive is clicking, grinding, or not detected at all, stop and consider a professional recovery service.
