
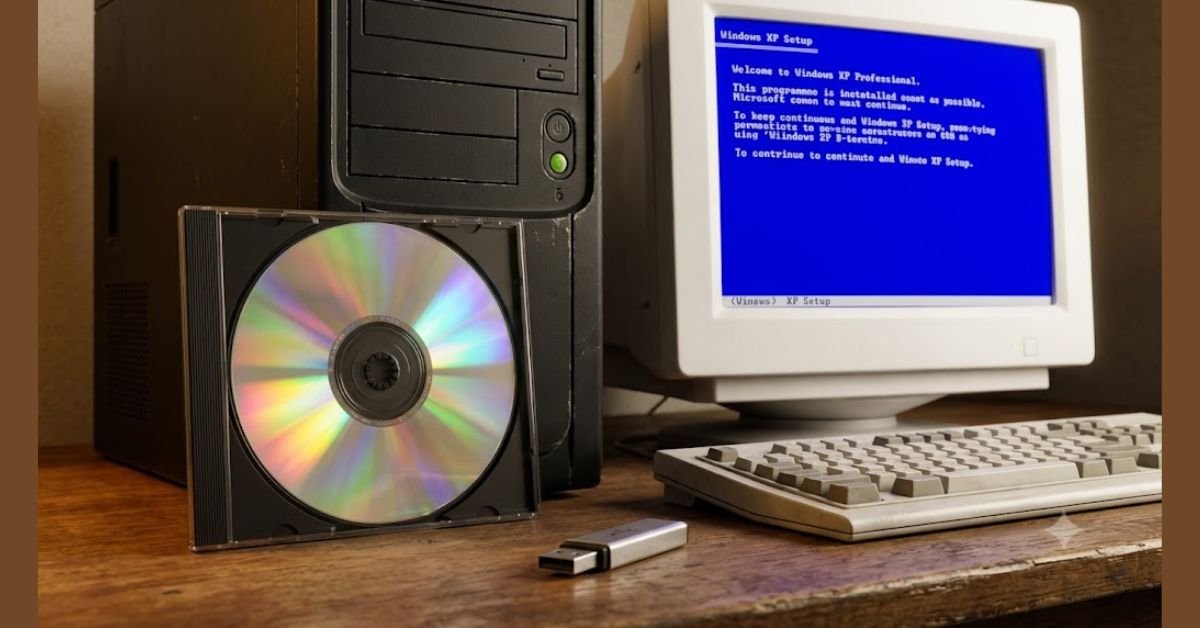
Whether you are restoring a retro gaming rig, maintaining legacy industrial hardware, or recovering critical software from a vintage PC, having a functional Windows XP installation disk is essential. Though Microsoft officially ended support for Windows XP in 2014, thousands of hobbyists, IT historians, and specialized business operators still rely on this iconic operating system.
This guide walks you through everything you need to know about preparing, burning, and booting from a Windows XP installation media—whether you are using a physical CD-ROM or converting the ISO setup to a bootable USB drive.
What Is a Windows XP Installation Disk?
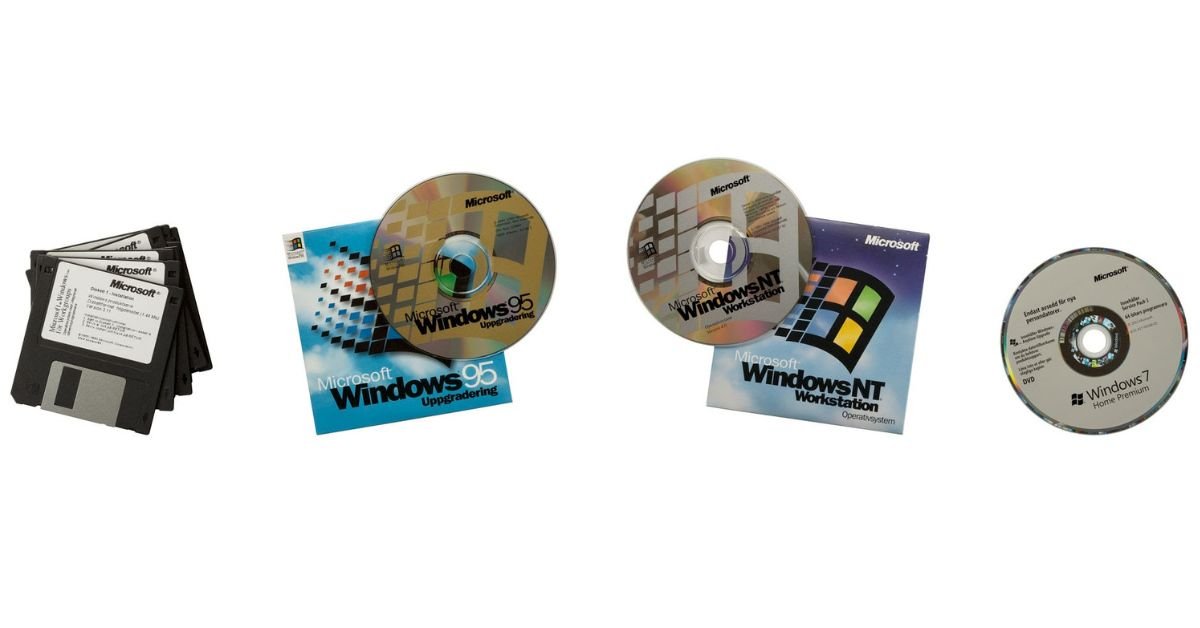
A Windows XP installation disk is an optical CD-ROM (or bootable disc image) containing all core setup files, drivers, and system binaries required to perform a fresh operating system install, repair a corrupted boot sector, or run the Recovery Console.
Key Prerequisites Before You Start
Before creating or using your disk, make sure you have the following items ready:
- Windows XP ISO Image File: A legally obtained
.isocopy of Windows XP (Service Pack 3 is highly recommended for modern SATA/hardware compatibility). - Blank CD-R or DVD-R: Standard Windows XP installation requires less than 700 MB of space.
- Burning Software: Tools like ImgBurn, CDBurnerXP, or PowerISO.
- Valid Product Key: Required during the graphical setup phase.
- USB Flash Drive (Optional): If your target retro PC lacks an optical CD drive, a 1 GB to 4 GB USB drive can be used with specialized tools like WinSetupFromUSB or Rufus.
Step-by-Step: How to Burn a Windows XP Installation CD
Creating an installation disc from an ISO image requires burning the file as a bootable disc, not simply dragging and dropping the file onto a blank CD.
1.Download and Install Burning Software:
Download a trusted optical disc burning utility such as ImgBurn or CDBurnerXP on a working PC.
2.Insert a Blank Disc:
Place a blank CD-R (or DVD-R) into your computer’s optical disc writer drive.
3.Select Write Image to Disc:
Open your burning utility and select the option labeled Write image file to disc or Burn ISO Image.
4.Set Burn Speed and Start:
Browse to select your Windows XP ISO file. Set the write speed to a lower setting (such as 4x or 8x) to minimize write errors on legacy optical hardware. Click Burn.
Alternative Method: Creating a Bootable Windows XP USB Drive
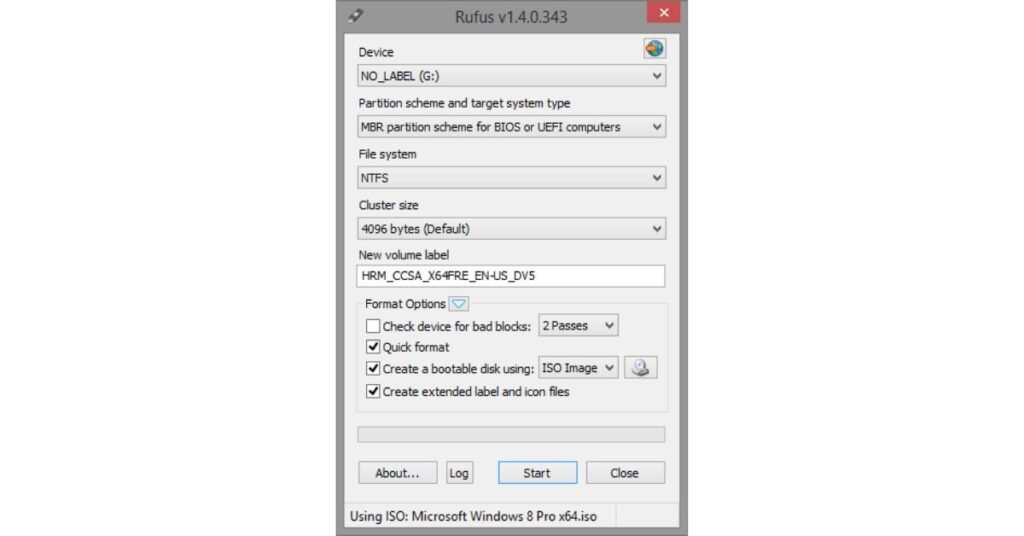
Modern computers often lack CD drives. While creating a bootable Windows 10 or 11 USB is straightforward, Windows XP setup requires specific partition schemes (MBR) and storage drivers due to its age.
USB Creation Tool Comparison
| Feature / Tool | WinSetupFromUSB | Rufus | Easy2Boot |
| Windows XP Support | Excellent (Native 2-stage installer setup) | Good (Requires MBR/BIOS mode) | Advanced (Multi-boot ISO loading) |
| Ease of Use | Moderate | Very High | Advanced |
| SATA Driver Injection | Integrated options | Manual setup | Integrated toolkits |
| Best For | Pure Windows XP installs | Simple single-ISO boot drive | Multi-OS technician drives |
Quick Guide Using WinSetupFromUSB
- Insert a USB flash drive (1 GB – 8 GB) into your primary PC.
- Run WinSetupFromUSB as Administrator.
- Check the box for Windows 2000/XP/2003 Setup and browse to your extracted XP files or mounted ISO.
- Click GO to format the flash drive and transfer boot files.
How to Install Windows XP Using the Installation Disk
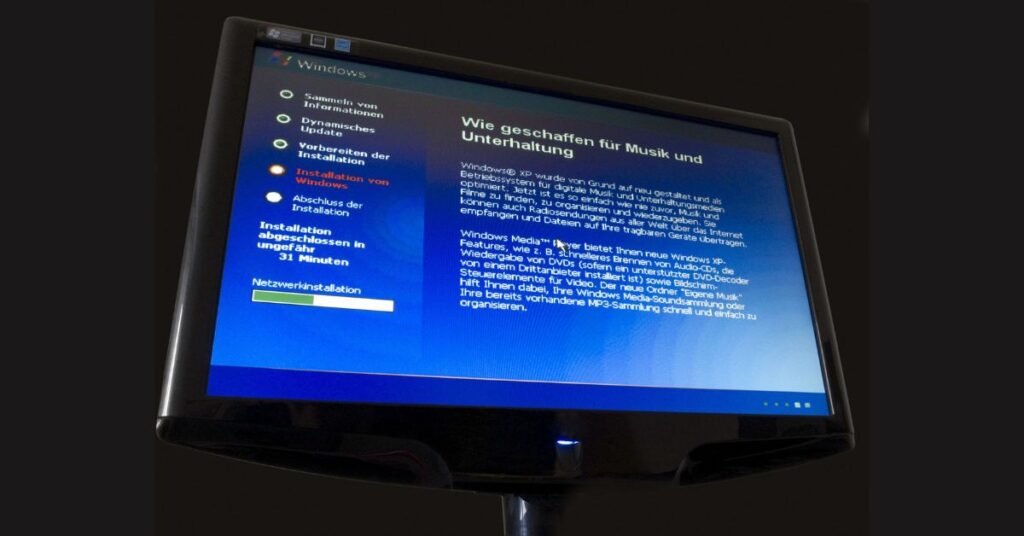
Installing Windows XP involves two distinct setup phases: the blue-screen text mode setup and the graphical GUI wizard.
Phase 1: BIOS Configuration & Boot
- Insert the Windows XP CD or bootable USB drive into the target computer.
- Restart the PC and press the BIOS boot key (usually F2, F12, Del, or Esc) immediately upon powering on.
- Set your CD-ROM Drive or USB Storage as the primary boot device in the boot priority menu.
- Save settings and exit. When prompted with “Press any key to boot from CD…”, press any key on your keyboard.
Phase 2: Partitioning & File Copy
- When the blue Setup screen loads, press Enter to set up Windows XP.
- Press F8 to accept the Licensing Agreement.
- Select the target hard drive partition. For a completely clean installation, select existing partitions and press D to delete them, then press C to create a new partition.
- Select Format the partition using the NTFS file system (Quick) and press Enter.
- Setup will copy installation files to your hard disk and automatically restart your system.
Phase 3: GUI Wizard Completion
- Do not press any key when the boot prompt reappears after the restart; allow the computer to boot into the graphical installer.
- Enter your Regional Settings, Computer Name, and Product Key.
- Set your date, time zone, and network settings when prompted.
- Once completed, your system will launch into the classic Windows XP desktop.
Essential Post-Installation Checklist
To ensure your Windows XP machine runs smoothly and safely, follow these initial setup steps:
- [ ] Install Chipset & Hardware Drivers: Load motherboard, audio, display, and LAN drivers via CD or flash drive.
- [ ] AHCI / SATA Driver Verification: If your hard drive was in IDE compatibility mode in BIOS, install the SATA controller drivers before switching BIOS back to AHCI mode.
- [ ] Disable Online Internet Connectivity: Because Windows XP no longer receives security patches, avoid connecting it directly to an unfirewalled internet connection.
- [ ] Create a System Restore Point: Save a clean backup snapshot once all essential legacy software is configured.
Frequently Asked Questions (FAQs)
Can I install Windows XP on a modern computer with a SATA drive?
Yes, but standard Windows XP installation media lacks native AHCI SATA drivers. You must either set your storage controller in BIOS to IDE Compatibility Mode or “slipstream” SATA drivers into your ISO using tools like nLite before burning the disk.
Where can I get a legitimate Windows XP ISO?
If you own an original license key, you can convert your physical retail or OEM Windows XP CD into an ISO image using software like CDBurnerXP or ImgBurn. Archive organizations and tech preservation repositories also maintain digital preservation images of original install media.
What should I do if setup says “No hard disk drives were found”?
This error occurs when the Windows XP setup installer cannot detect your SATA drive controller. Reboot your system into BIOS setup and change the SATA Mode from AHCI/RAID to IDE / Legacy / Compatibility, or press F6 at the beginning of Windows setup to load SATA drivers from a floppy disk or integrated USB drive.
Conclusion
Creating a Windows XP installation disk remains a valuable skill for retro computing enthusiasts and system administrators managing legacy equipment. By preparing a bootable optical disc or USB flash drive with the necessary drivers, you can easily restore classic systems and keep vintage hardware operational.
